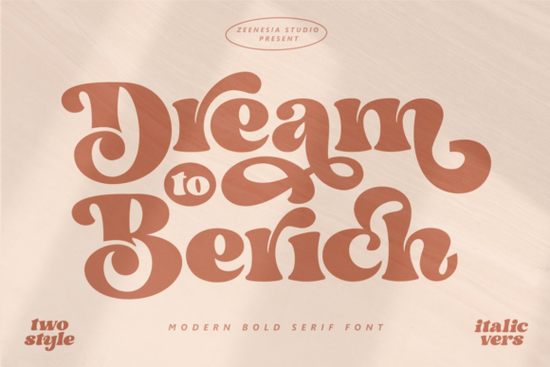
If you are looking for a clean, modern serif that brings a touch of quiet elegance to your layouts, Dream to Berich Font fits right into that space. It is designed with smooth curves and balanced proportions, making it a reliable choice for everything from boutique branding to printable wall art. The typeface includes full PUA encoding, so you can pull up alternate glyphs and decorative swashes without jumping through extra software hoops. Whether you run a small print-on-demand shop, design wedding invitations, or create digital planners, this font gives you a polished look without demanding hours of tweaking.
What makes this serif font stand out for everyday design work?
Many serif typefaces lean either too traditional or overly decorative, but this one strikes a middle ground that works across multiple mediums. The letterforms carry a contemporary rhythm while keeping the readability you need for longer text blocks. Because it is PUA encoded, you can access ligatures, stylistic alternates, and flourishes directly inside most design programs. That means less time hunting through character maps and more time arranging your layout. If you have been testing other type families for your shop, you might also want to browse a few related options in our collection of modern serif typefaces to see how they compare side by side.
Which projects work best with a trendy serif like this?
The real strength of a well-drawn serif shows up when you apply it to tangible products. Think boutique clothing tags, cosmetic packaging, coffee shop menus, or minimalist quote prints. The clean strokes hold up nicely on both digital screens and physical prints, which matters when you are preparing files for heat transfer vinyl, sublimation, or standard offset printing. Crafters often pair it with a simple sans serif for body copy, letting the serif handle headlines and short phrases. Small business owners find it especially useful for social media templates, where consistent typography helps build recognition over time. When working with mockups, keep your letter spacing tight for headlines and slightly looser for smaller text to maintain clarity. You can see how it fits into a broader serif font library for branding and crafts when you are planning your next seasonal release.
How do I install and access the extra characters without trouble?
Installation follows the same steps as any standard desktop font. Download the file, unzip the folder, and double-click the OTF or TTF file to install it on your system. Once it is active, open your design software and look for the glyphs panel. In Illustrator, you will find it under Window, then Type, then Glyphs. In Canva or Cricut Design Space, the alternate characters usually appear in the text formatting menu once the font is synced. Because the file is PUA encoded, you do not need professional-grade software to reach the swashes. If you want to explore more details about the typeface or check updated file formats, you can visit the official listing for Dream to Berich Font to grab the latest version.
What should I check before using it in client or commercial work?
Typography looks great on screen, but real-world testing saves you from unexpected printing issues. Always run a quick proof at the actual size your product will use. Check how the thinner strokes render on your chosen material, especially if you are working with fabric, textured cardstock, or dark backgrounds. Verify the licensing terms for your specific use case, since personal, commercial, and print-on-demand rights can differ depending on the platform. Keep an eye on kerning around capital letters, as decorative serifs sometimes need manual adjustment. Pair the serif with a neutral sans serif to keep layouts balanced, and limit decorative swashes to headlines or short accents so the design stays readable. A quick test print and a second pair of eyes will catch spacing or contrast problems before you send files to production.
Before you finalize your next design, run through this quick checklist:
- Install and sync the font across all devices you use for design work.
- Open the glyphs panel and note which alternates match your brand style.
- Test print at 100% scale on your actual material or paper stock.
- Check licensing to confirm commercial or POD usage is covered.
- Pair carefully with a clean sans serif and keep swashes to headlines only.
Save your test files, note the settings that worked, and you will have a repeatable workflow ready for your next batch of products.
 Gibs Font: Creative Projects & Typography Ideas
 Custom Mario Font Design & Creative Projects
 Beach Waves Duo Font for Typography Projects
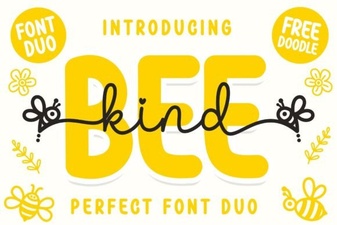 Bee Kind Duo Font: Perfect Pair for Creative Projects
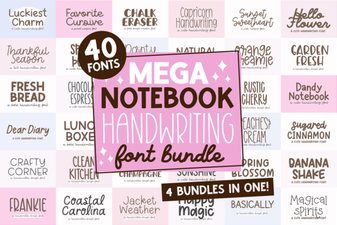 Digital Notebook Fonts for Handwriting & Creative Projects
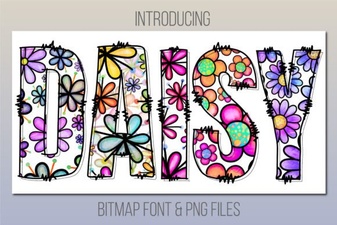 Design with Daisy: a Friendly Font Guide