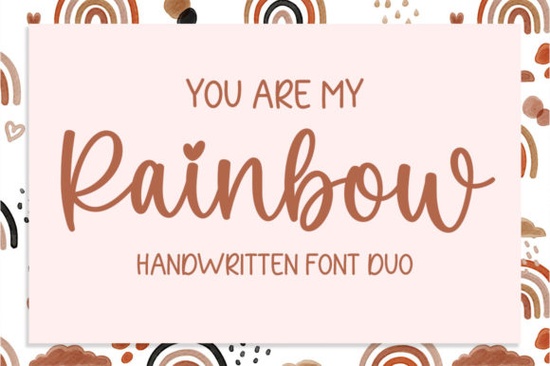
If you need a typeface that feels both playful and polished, You Are My Rainbow Font delivers exactly that. This package includes two complementary fonts that work seamlessly side by side or stand alone, making it a practical choice for anyone creating stickers, apparel, wedding stationery, or digital printables. The design balances a cheerful handwritten feel with clean readability, so your message stays clear even at smaller sizes.
What makes this two-font combination so practical?
Most crafters and small business owners run into the same problem when mixing typefaces: the styles clash or the weights fight for attention. This duo solves that by sharing the same underlying proportions and stroke rhythm. One font carries a slightly bolder, more structured look, while the other adds a lighter, flowing contrast. When you pair them, you get visual hierarchy without spending hours testing random combinations. If you usually reach for another versatile pairing for your branding, you will notice how this set keeps the same effortless balance but with a brighter, more upbeat personality.
Which projects get the best results?
The clean curves and friendly letterforms work across both digital and physical products. Here is where it tends to perform best:
- Print-on-demand apparel: Short quotes, names, or dates on t-shirts and tote bags read clearly and photograph well.
- Stickers and planner inserts: The lighter weight stays legible at 10–12 pt, while the heavier style pops as a header.
- Wedding and party stationery: Invitations, favor tags, and welcome signs benefit from the soft, approachable tone.
- Social media graphics: Overlays for Reels, Pinterest pins, and shop announcements stay readable on mobile screens.
When you want a more casual vibe for daily posts, you might also test a relaxed social media style alongside your main branding. For larger campaigns or seasonal bundles, pulling from larger handwritten collections can give you extra alternates and matching icons without breaking your workflow.
How do you install and use the files correctly?
After downloading, you will typically find .OTF and .TTF files, sometimes with web font versions depending on the license. Install them through your operating system’s font manager, then restart your design software so the new family appears in the dropdown menu. If you are using Cricut Design Space or Silhouette Studio, close and reopen the program after installation so the fonts sync properly. When setting text, keep tracking loose for the script style and tighten it slightly for the sans or display counterpart. This small adjustment prevents letters from colliding and keeps the baseline looking natural.
If your projects lean toward bold, attention-grabbing headers, you can also explore bold display options for contrast. Just remember to limit your layout to two or three typefaces total so the design stays clean.
What should you check before purchasing?
Font licensing is often overlooked until a shop owner tries to scale. Always review the included license file to confirm whether commercial use, print-on-demand sales, or digital product distribution are covered. Some creators allow unlimited physical products but restrict editable templates or logo trademarking. If you plan to sell editable Canva templates or offer the font files to clients, you will likely need an extended or app license. When in doubt, contact the designer directly or check the product page for the full font package details before launching your store listing.
You can also preview how the letters shape up across different words by testing it on the official marketplace. Searching for You Are My Rainbow Font lets you see customer examples, file updates, and current licensing terms in one place.
Quick setup checklist before you start designing
- Install both .OTF and .TTF files, then restart your design app.
- Test uppercase and lowercase combinations to check baseline alignment.
- Adjust letter spacing: +10 to +20 for the script, -5 to 0 for the pairing font.
- Export a small print test at 100% scale to verify stroke thickness on paper.
- Save your license receipt in a dedicated folder for future marketplace audits.
Start with a simple mockup, like a three-word quote on a light background, and adjust the size until the curves feel balanced. Once the spacing looks right, duplicate the layout across your product line so your branding stays consistent without extra guesswork.
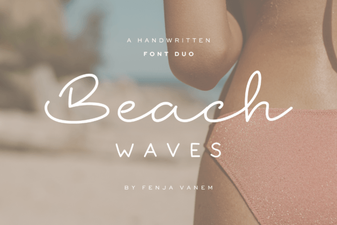 Beach Waves Duo Font for Typography Projects
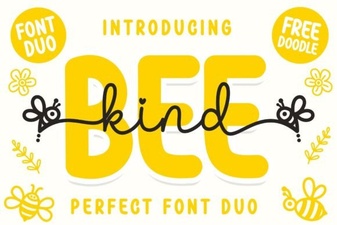 Bee Kind Duo Font: Perfect Pair for Creative Projects
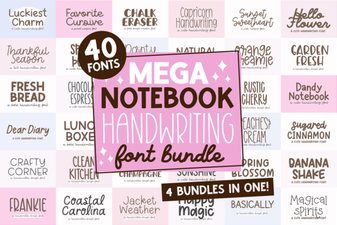 Digital Notebook Fonts for Handwriting & Creative Projects
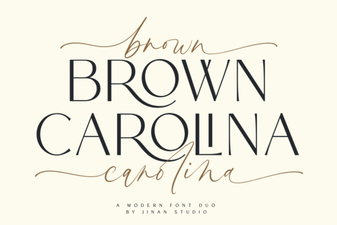 Brown Carolina Duo Font Design & Project Ideas
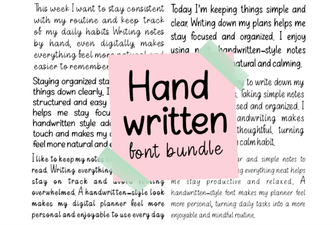 Handwritten Font Bundle for Creative Projects
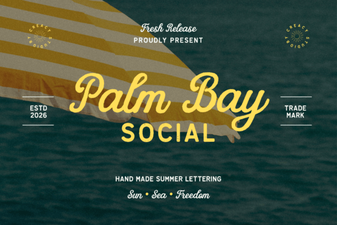 Palm Bay Font for Creative Social Projects