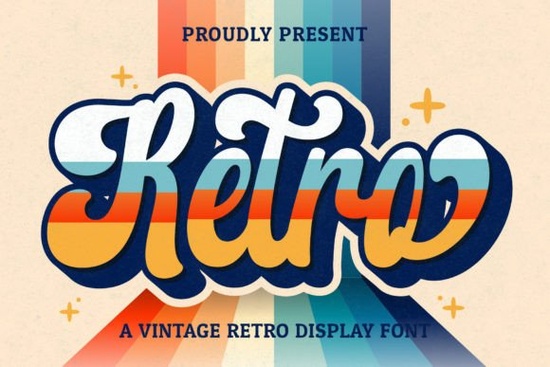
If you have been looking for a dependable vintage-style lettering option, the Retro Script Font gives you that nostalgic handwritten feel without the guesswork. Designed with a relaxed stroke pattern, it mimics real marker work while staying clean enough for professional layouts. Whether you are building a brand identity, designing event prints, or preparing files for print-on-demand storefronts, this typeface offers consistent legibility. You will find it works especially well when you need typography that feels personal rather than strictly mechanical.
What makes this typeface stand out?
The letterforms blend casual cursive motion with structured spacing, which keeps text blocks readable while delivering a handcrafted aesthetic. Unlike many scripts that tighten up unpredictably, this design maintains clear x-heights and open counters. That structural choice matters when you scale the type down for product labels or blow it up for large banners. The weight balances comfortably between light and medium, giving you flexibility without crossing into illegible territory. You can lean into the vintage vibe or soften it by pairing the letters with ample white space.
Where can you actually use it?
Because of its flexible character set, this font fits naturally into a wide range of commercial projects. Designers often use it for boutique logos, custom signage, and packaging that needs a warm look. Crafters and paper good creators reach for it when drafting wedding suites, greeting cards, or invitations that require a personal touch. If you run a small shop selling digital downloads or physical merch, you can drop the lettering onto apparel, mugs, and sticker sheets without worrying about cramped kerning. Social media managers also appreciate it for quote graphics and seasonal headers. When you need something more structured or playful, you might compare it alongside options like Strong Bubble Font for rounded headlines, or explore Street Writing Font for an urban twist.
How does the PUA encoding help your workflow?
PUA (Private Use Area) encoding means the designer mapped the extra characters, decorative swashes, and alternate flourishes to non-standard code points. Instead of waiting for your software to load an open-type feature menu, you can pull those extras directly through your keyboard layout or glyph panel. This setup reduces lag during rapid drafting sessions and keeps your file sizes manageable. You simply locate the specific glyph you want, place it in your composition, and adjust tracking as needed. Many crafters prefer this approach because it cuts out the trial-and-error process of chasing hidden alternates.
Which other style families pair well with it?
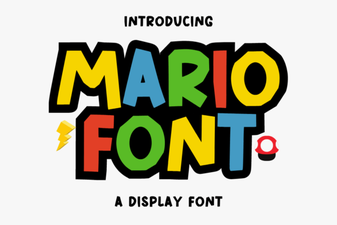
Pairing scripts requires clear visual contrast so the headline does not compete with supporting text. A clean geometric sans-serif works best for body copy or secondary information lines. If you prefer leaning fully into retro aesthetics, lighter handwritten options or blocky display faces create nice tension. For children’s merchandise or playful party themes, a softer family like Retro Kids Font complements the vintage mood while keeping the reading level accessible. When you want to switch toward arcade visuals, you might test Mario Font for pixelated accents alongside simpler supporting text. Keeping your color palette muted helps the typography breathe without overwhelming the viewer.
What should you check before adding it to your project?
Before committing to a full license or exporting final files, verify that your design software recognizes the complete glyph set. Open the character map, test a few common punctuation marks, and confirm that special symbols render correctly. If you plan to edit the letters later, convert your text boxes to outlines after positioning, but keep an editable backup. You can review the full details and preview the character set here by checking out the Retro Script Font listing. Remember to review the creator’s terms regarding commercial usage, especially if you are printing items for resale. Checking the documentation early saves unexpected licensing headaches later.
Quick implementation checklist
- Open your font installer and double-click the provided TTF or OTF file
- Restart your design application to register the new glyph set
- Type a sample phrase and swap out two letters using the PUA glyphs
- Export your design at 300 DPI for print or standard resolution for web posts
- Keep a separate folder for backup copies and licensing receipts
If you are starting a new layout today, sketch your headline hierarchy first, then apply the script to your primary title only. Keep the supporting text minimal, test the file on both screen and paper, and adjust spacing until the negative space feels balanced. Once you lock in your kerning, save a vector PDF to streamline future edits.
 Custom Mario Font Design & Creative Projects
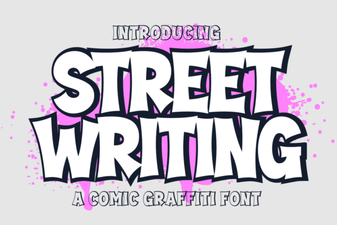 Urban Graffiti Fonts: Creative Design Ideas
 Unveiling the Homegoing Font for Your Projects
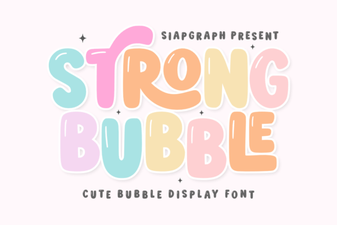 Free Bubble Fonts for Creative Projects
 Varsity Font Designs for Sports and Graphics
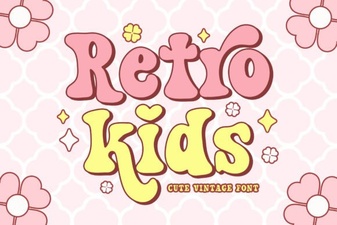 The Value of Classic Retro Fonts for Children's Designs