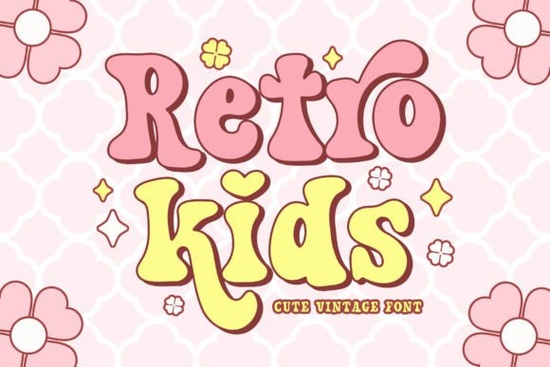
When you need a typeface that instantly brings a nostalgic feel to educational materials or children’s merchandise, Retro Kids Font delivers exactly that without extra effort. Designed with a soft serif structure and playful curves, it captures mid-century classroom charm while staying modern enough for current trends. Whether you are drafting bulletin board headers, assembling party supplies, or setting up a print-on-demand store, this style saves time because it balances legibility with personality. The built-in alternates let you tweak individual letters so your layouts look custom rather than mass-produced.
Why Does This Typeface Fit Back-to-School Themes So Well?
School year launches thrive on recognizable visual cues like chalkboards, pencil boxes, and bright signage. A typeface that echoes those memories helps parents and educators connect immediately. The weighted strokes and rounded terminals mimic hand-carved schoolhouse signs, making it ideal for welcome banners, name tags, and classroom decor. You will also notice the lowercase shapes have softer edges than standard serif options, keeping the overall impression light rather than corporate.
How Can You Pair It Without Overpowering the Layout?
Many designers match this style with simpler sans serifs for supporting text, but sometimes you want complementary display options that share the same era. If your project calls for a bolder contrast, checking out bold display lettering gives you strong headline support. When you need something more handwritten and fluid, browsing vintage script variations fills gaps where you want movement without losing the decade-specific aesthetic. For grade-level announcements, exploring athletic-inspired typography creates a nice balance between structured block letters and softer main text.
What Projects Benefit Most From Those Alternates?
The extended character set includes swash versions and alternate glyphs that prevent repetitive letter stacking. Instead of repeating the same capital across three lines, you can swap in a different form that adds subtle rhythm. This feature matters most when you are creating:
- Birthday invitation suites where each age needs a unique look
- Summer camp brochures mixing short headlines with longer instructions
- Sticker sheets where repetition quickly makes designs feel cheap
- T-shirt graphics requiring tight kerning but visual breathing room
Having those options upfront means less manual tweaking in your vector software. You spend less time fighting character spacing and more time arranging your grid.
What Should Commercial Sellers Know Before Uploading?
Print-on-demand vendors usually upload design files at three hundred dots per inch to avoid pixelated edges on apparel. Before exporting, lock your text layer and expand outlines only after proofreading. Keeping editable text until final export allows quick adjustments across multiple mockups. For crafters working with vinyl cutters or heat press machines, testing a sample on scrap material first catches alignment issues early. The thicker serif details hold up well on cotton blends, though very thin decorative flourishes may not cut cleanly on dark fabrics unless you add a backing layer.
Which Typefaces Complement This Style Without Clashing?
Mixing too many display styles quickly turns a layout into visual noise. A classic book serif provides steady background text that lets the featured style take center stage. Looking through elegant traditional typefaces usually offers reliable body text options that read clearly at smaller sizes. Seasonal themes also pair nicely with playful characters; reviewing collections similar to festive novelty lettering can inspire themed card designs while keeping everything anchored to the main typographic choice.
If you want to explore the full character set and licensing terms, searching for Retro Kids Font on Creative Fabrica shows the complete preview gallery.
Quick Checklist Before Your Final Export
Running through these steps reduces returns and customer questions:
- Verify kerning: Zoom out to thumbnail size to catch awkward gaps between tall ascenders and deep descenders.
- Test color contrast: Place your design over light and dark swatches before uploading to your mockup tool.
- Check alternate availability: Confirm which swashes are active so placeholders do not default to basic shapes.
- Review commercial rights: Match your sales channel against the assigned license tier to stay compliant.
Start by drafting three layout variants using the included alternates, pick the clearest option, and convert it to a high-resolution file before adding your product listing.
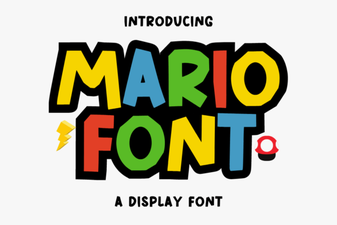 Custom Mario Font Design & Creative Projects
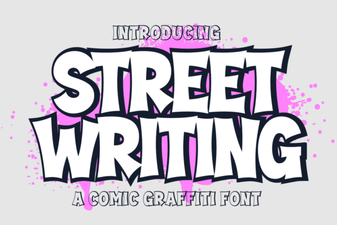 Urban Graffiti Fonts: Creative Design Ideas
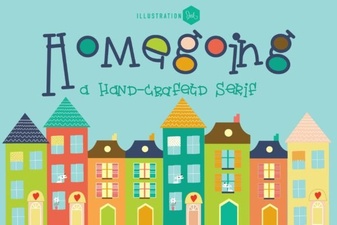 Unveiling the Homegoing Font for Your Projects
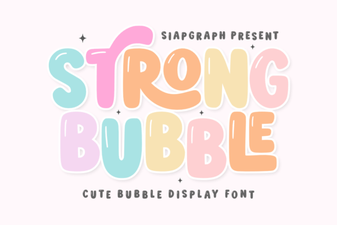 Free Bubble Fonts for Creative Projects
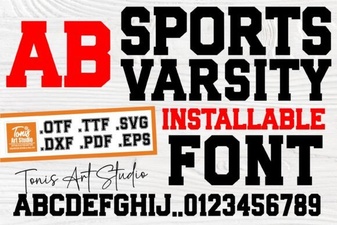 Varsity Font Designs for Sports and Graphics
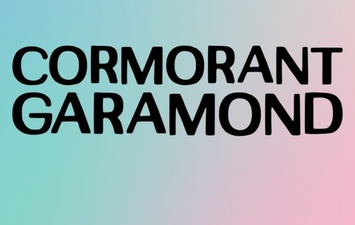 Cormorant Garamond: Elegant Design with Creative Flair